Importing PDF
Import PDF plans or images into VICUS Districts as a background drawing, set the scale via a reference length and position the plan for route planning.
Overview
In VICUS Districts you can import PDF plans (e.g. development plans) or images as a background drawing. The imported plan serves as a visual reference for network planning.
Importing a PDF
- Navigate to Import > PDF/Image.
- Select the desired file (PDF or image file).
- In the preview, you must specify a reference length in order to define the scale.
Setting the reference length
To scale the plan correctly, reference a known length:
- Use, for example, a scale bar contained in the plan, a known property length or building dimension.
- Click the start point and then the end point of the known distance.
- Enter the actual length in meters (e.g. 30 m).
- Confirm with OK.
Important in practice
The reference length determines the scale of the entire plan – a mistake here carries through the complete route planning. Therefore choose a reference distance that is as long as possible and clearly known (e.g. an entire property edge instead of a short door width): the longer the reference distance, the smaller the effect of click imprecision on the scale.
Positioning the plan
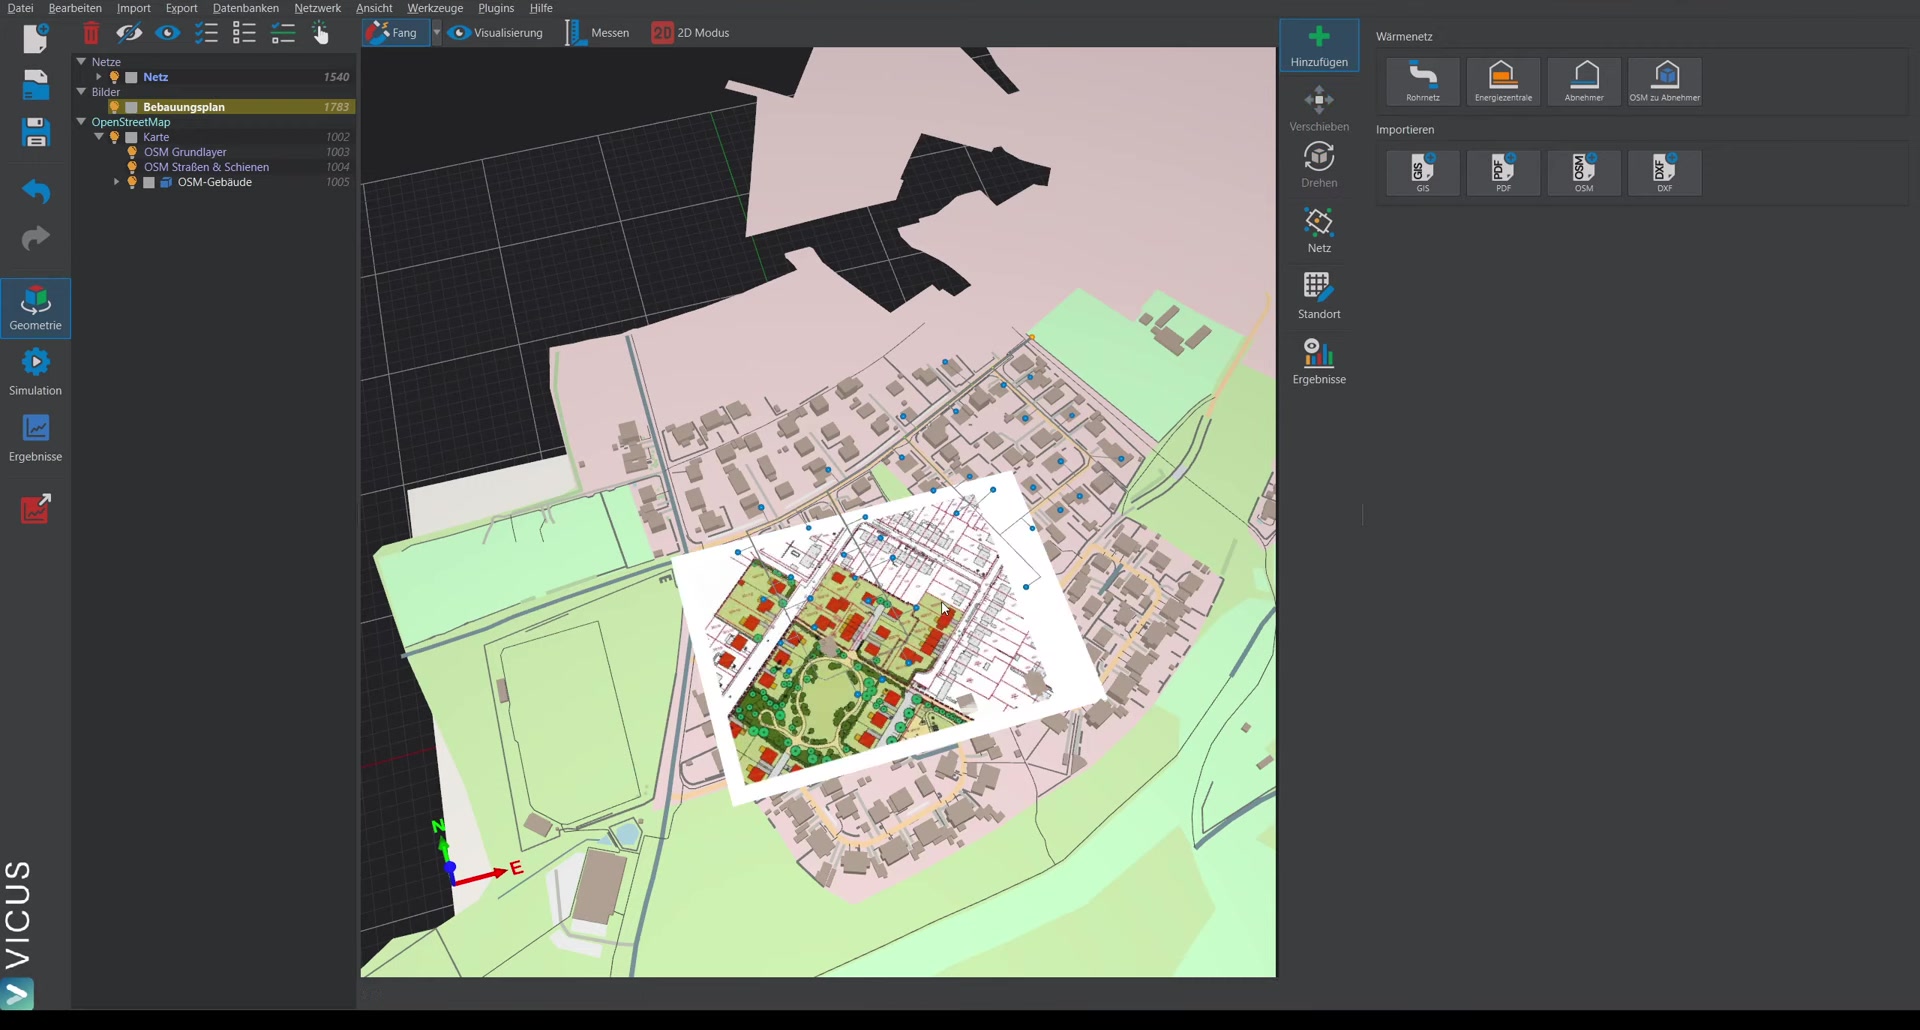
After the import, the plan has to be moved to the correct location:
- Select the imported plan — either directly in the view or via the navigation tree.
- Switch to move mode.
- Drag the yellow sphere with the mouse to move the plan freely.
- Alternatively, you can move the plan along a specific axis by dragging the red arrow (X axis) or the corresponding axis arrow.
Rotating the plan
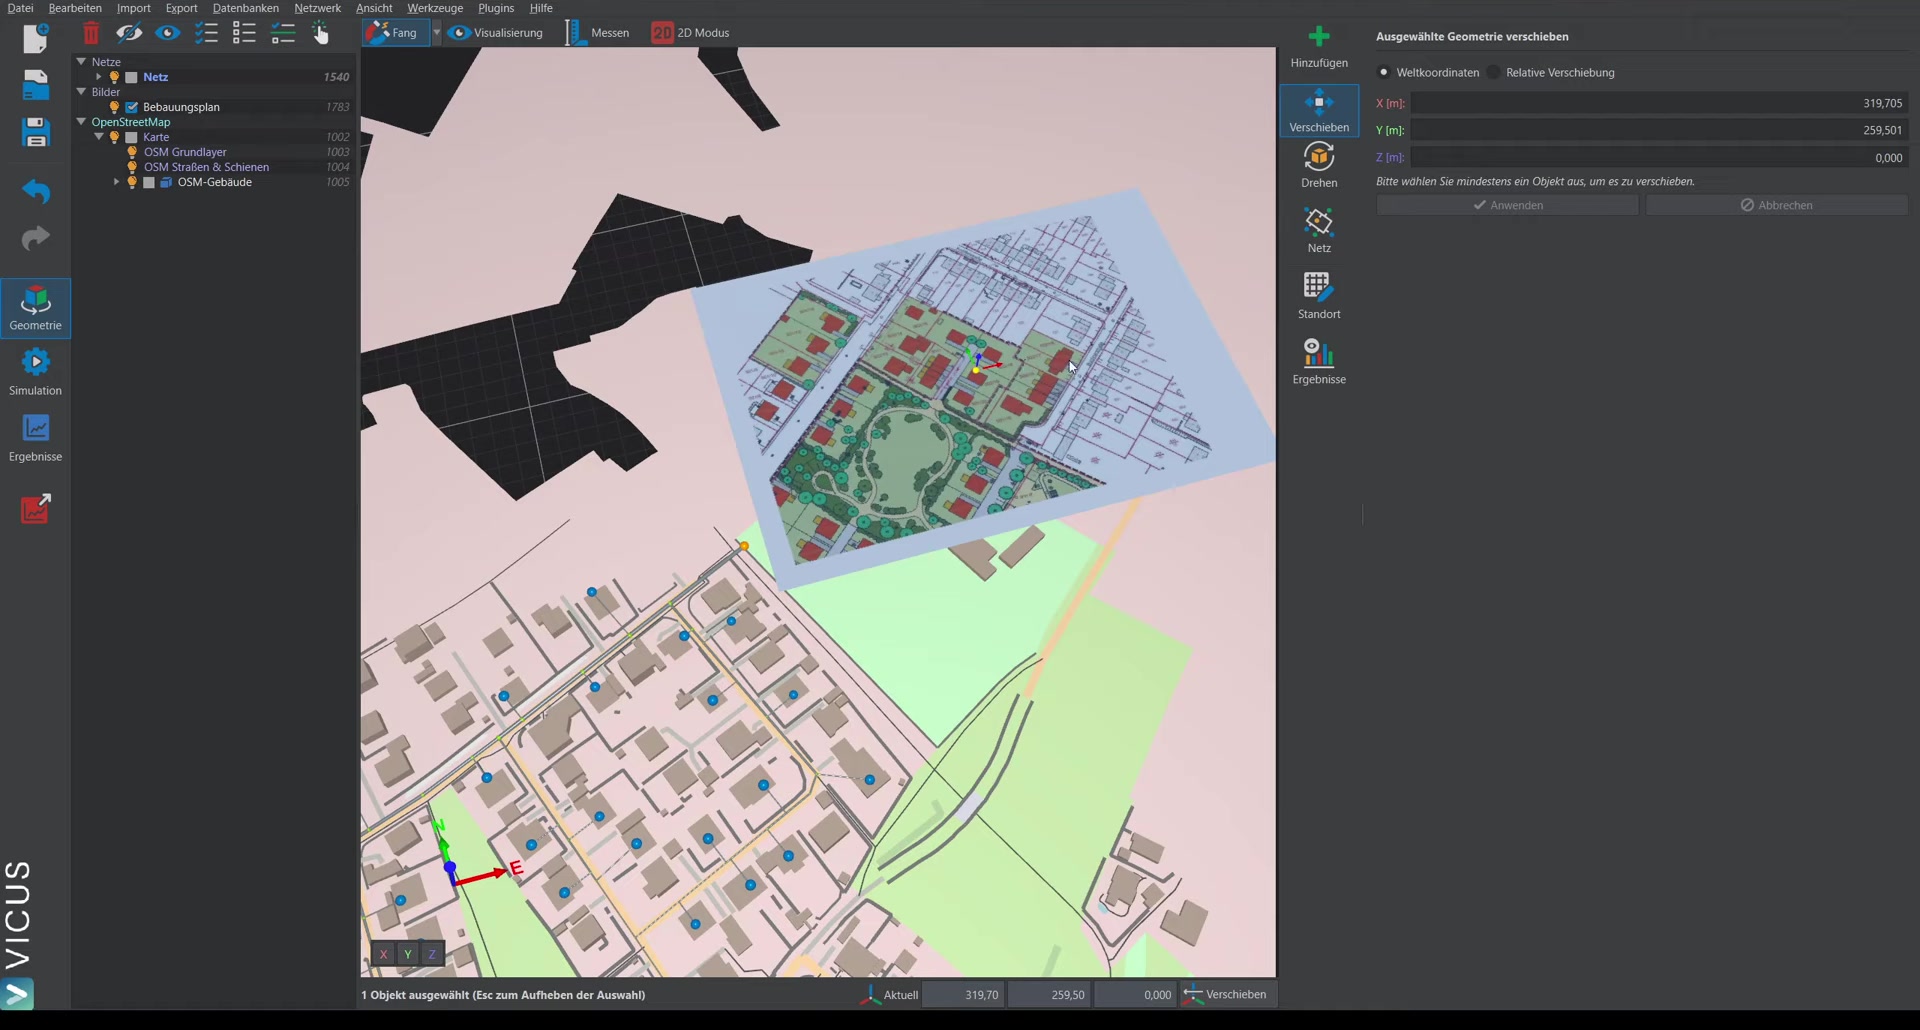
If the plan has to be rotated:
- Switch to rotation mode.
- Enter a rotation angle numerically or drag the blue sphere to rotate the plan manually.
Adjusting the display
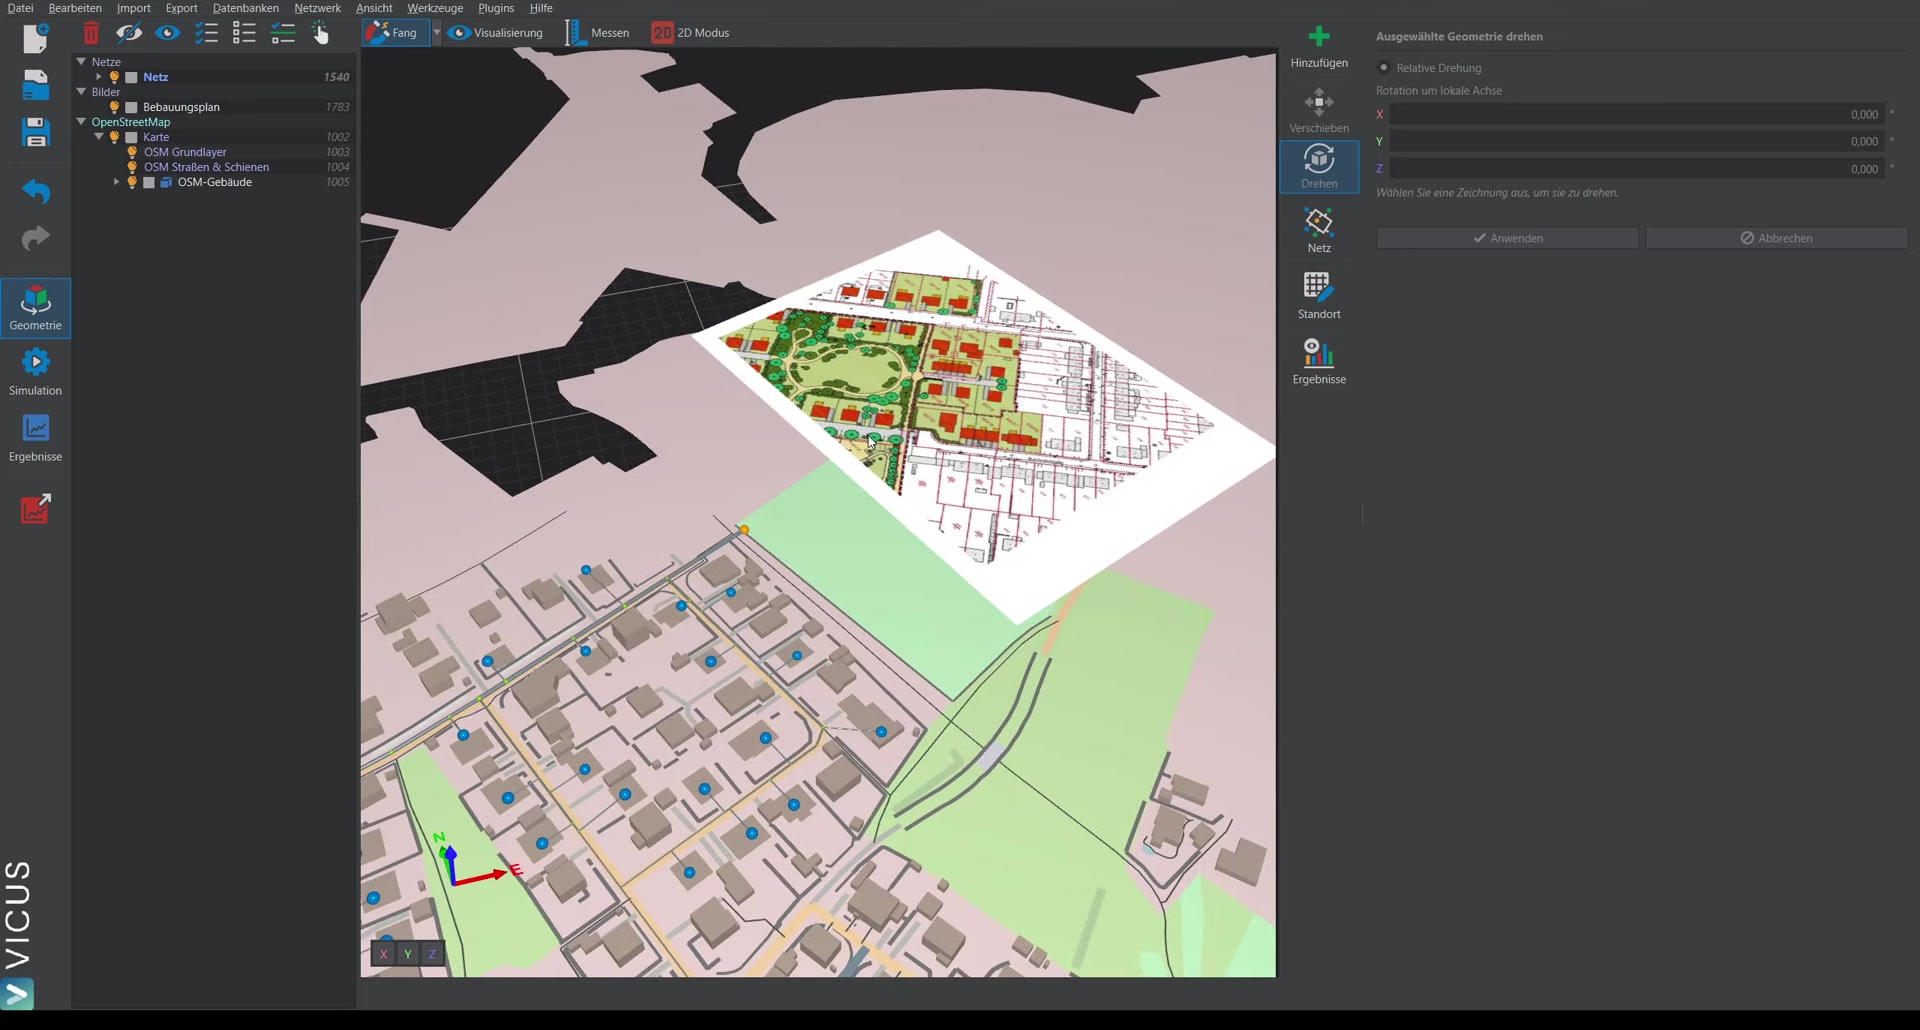
In the navigation tree, you can make further settings by double-clicking the imported plan:
- Visibility: Show and hide the plan.
- Reduce saturation or increase brightness to keep a better overview during network planning.
After positioning, deselect the plan with ESC and you can start with the further planning.